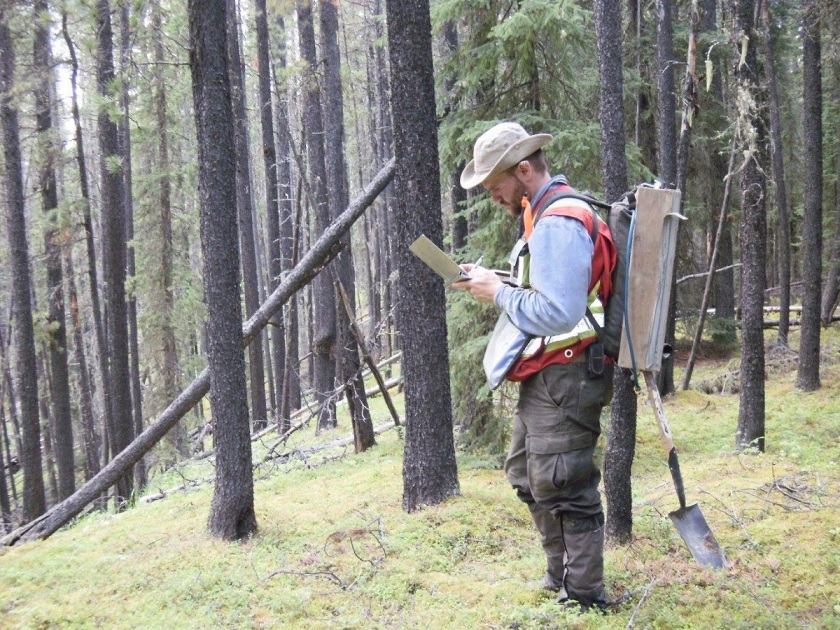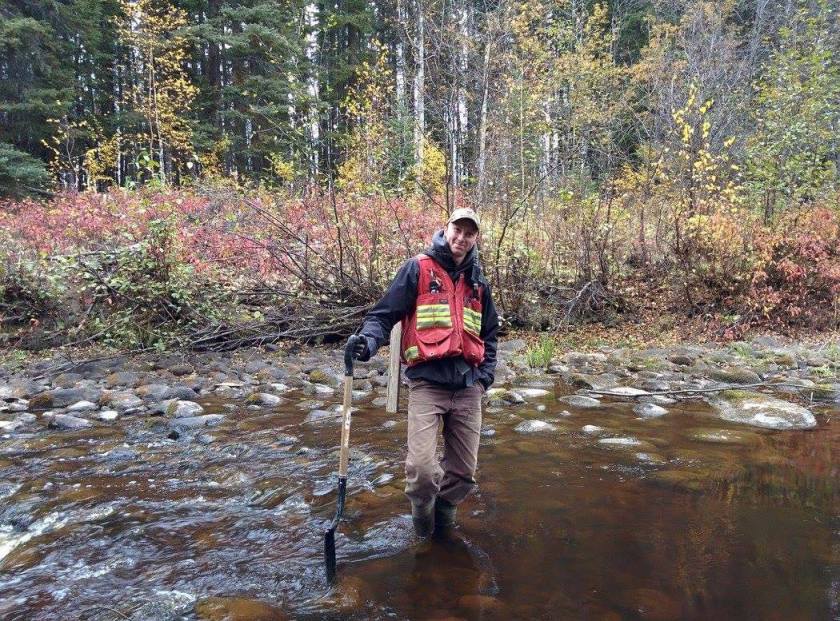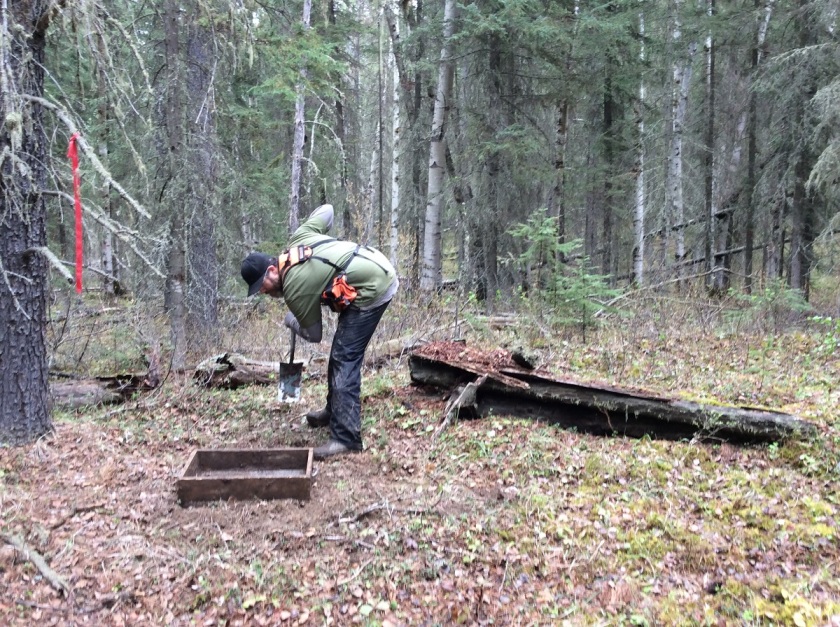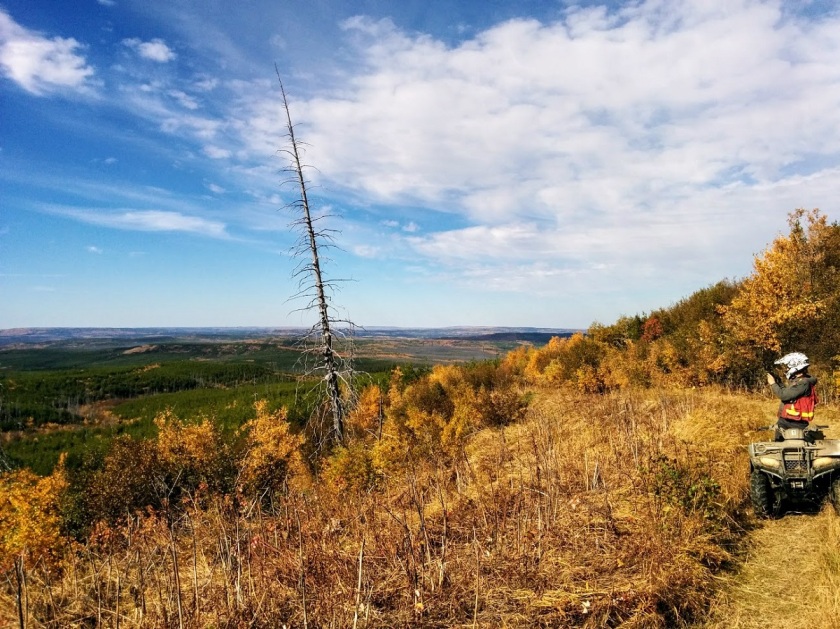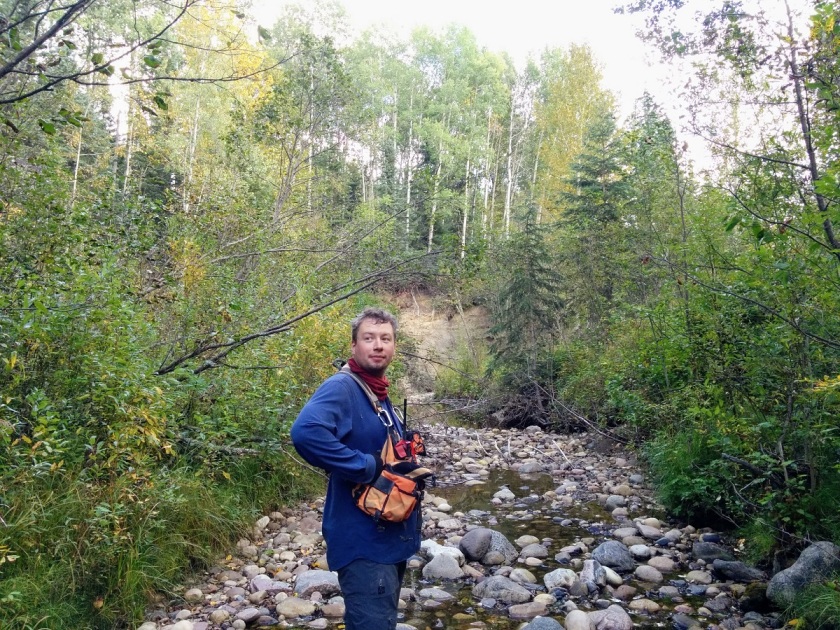
Gear choice can have a big effect on your comfort level and efficiency while working in the forest. New workers, may have never been in the field and may not know what you really need to take for a full 12 hour day in the boreal forest. We expect to spend the entire day away from motorized vehicles so we need carry in everything needed for the day by hand, backpack, or vest. And if you don’t want to feel like your carrying around the kitchen sink, you need to be very selective in what you pack!


There are three basic categories I have on me at all times: archaeological (A), safety (S), and personal (P). The archaeological items are what I need to do the job. The safety are what I need to stay safe, and to meet the OHS Regulations in Alberta. The rest is what I need to enjoy/tolerate my day. These are not always mutually exclusive. For example, I need a radio to communicate with co-workers about the survey we are doing, but also in case of an emergency.
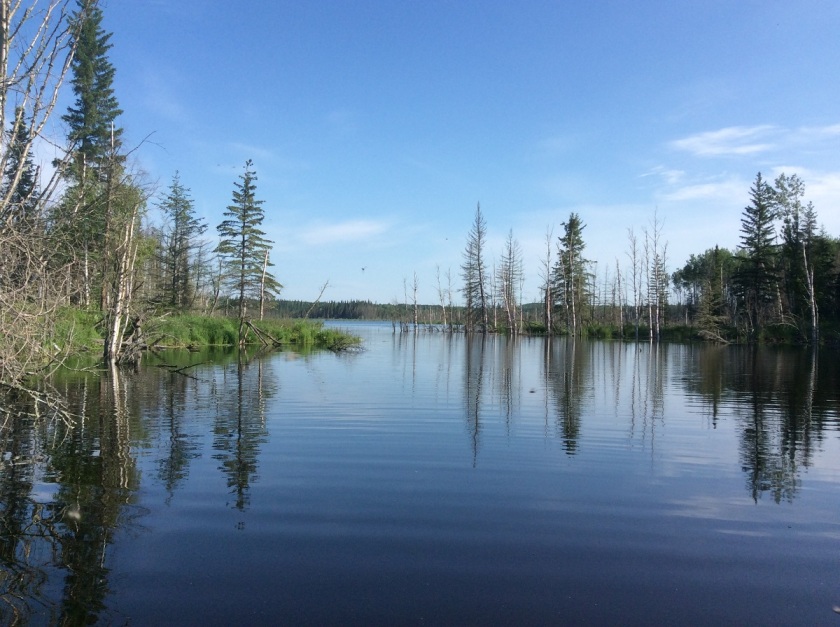
Time of year is also a factor. In spring, crews have encountered snow, rain, and sun all in the same day. Changing weather conditions may allow some items to be dropped, but other things, such as warm gloves, may need to be added. I never leave my rain gear behind, and also carry a survival kit and warm clothes, just in case I end up stranded overnight in the bush.


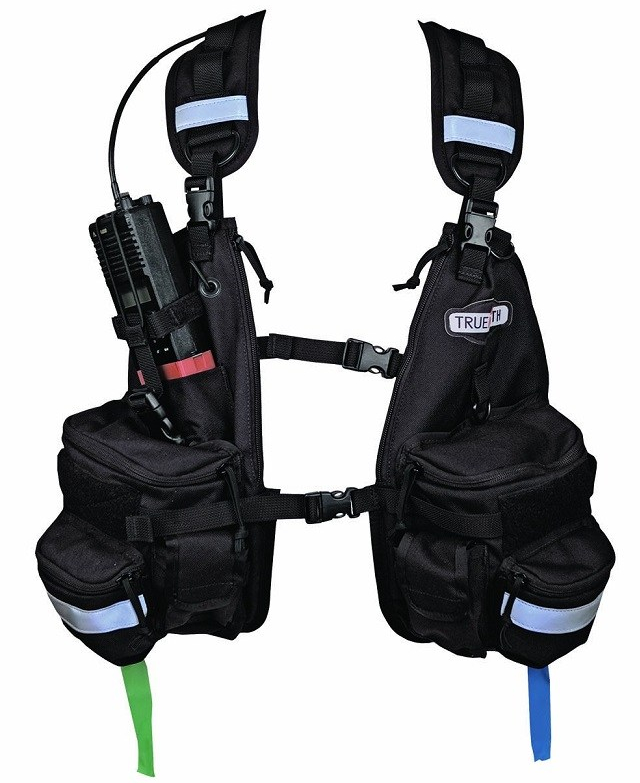
Load bearing equipment is an important consideration. I personally wear a True North Vest, but others may prefer a more traditional cruise vest. Many companies produce quality backpacks, but not all companies have the same level of warranty. Companies such as Osprey, make a durable lightweight backpack and fully stand behind their product with a stellar warranty. I prefer a 35-45 litre backpack as this size pack fits nicely inside our screens and gives me room for all my gear with a bit of extra space to put extra layers as the temperature rises. Make sure that you get a bag with a rain-cover. Most good bags come with one.
Keep in mind that I generally carry more stuff than most people, but I like to be prepared and don’t mind the weight. Adjust gear accordingly, and try to decide whether you really need something or not.
Things In My Vest
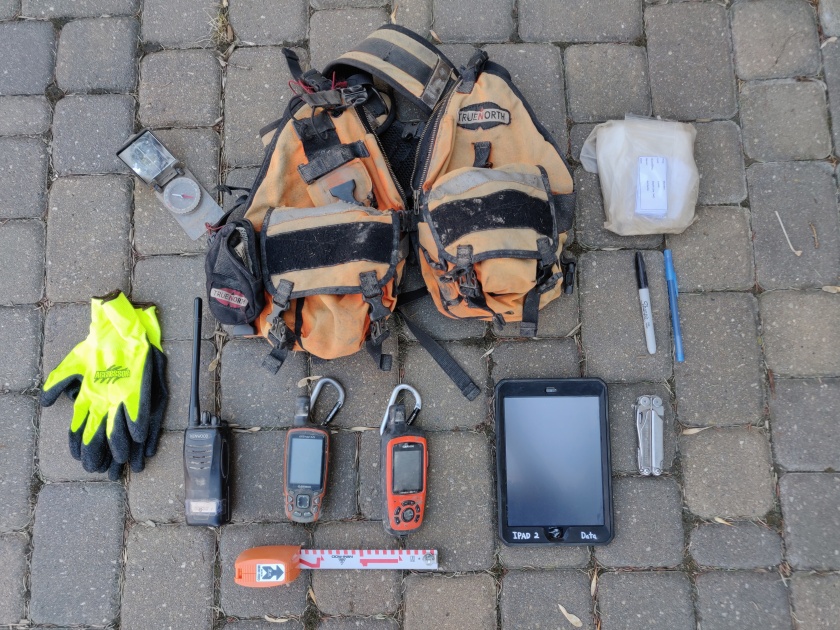
- iPad Mini (A, S)
- Tethered to a Bluetooth GPS we use this for data collection, navigation, safety documentation.
- In-Reach/Bluetooth GPS (A, S)
- Emergency satellite communication device that increases the accuracy of the iPad’s location.
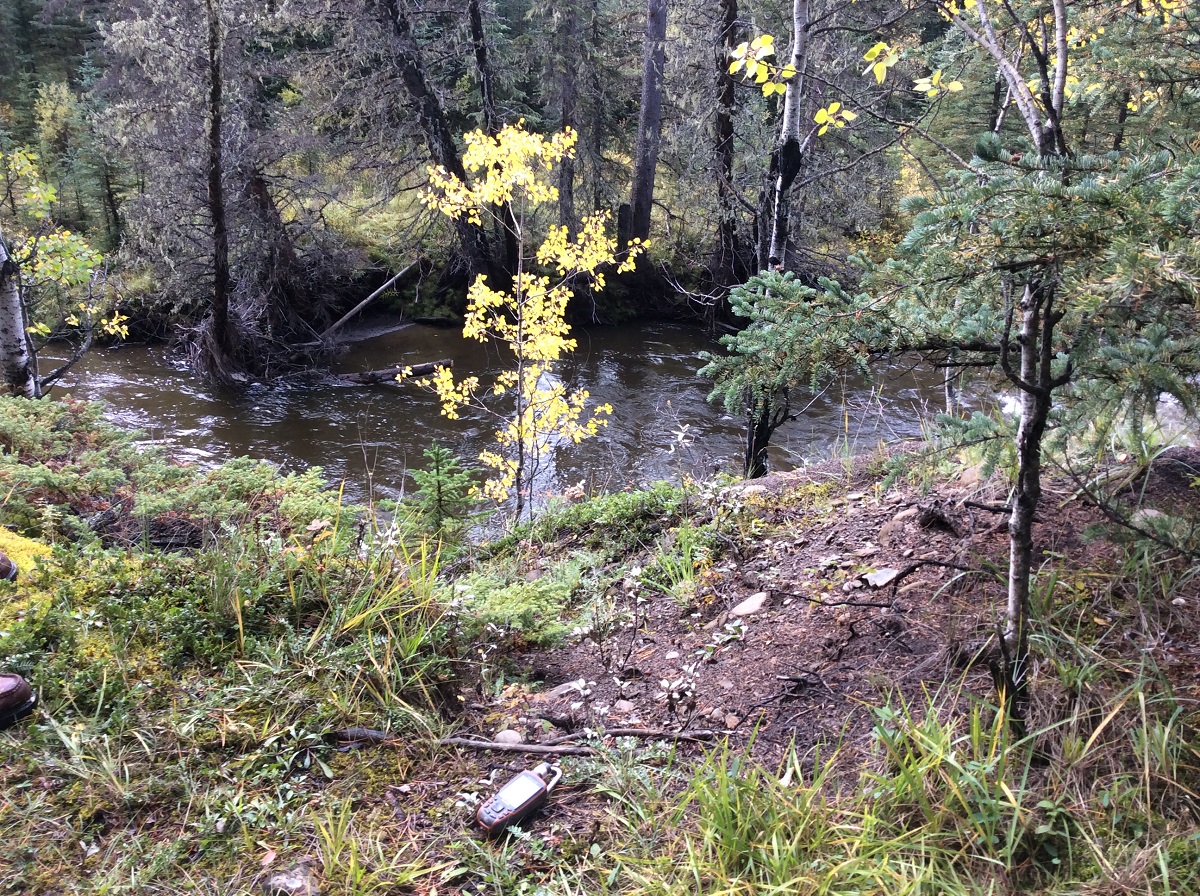
- Handheld GPS (A, S)
- Navigation, important waypoints (truck, quads etc.) data backup (shovel test locations).
- VHF Radio (A, S)
- Communication with co-workers and other crews. Great for notifying other nearby workers of hazards, or when we found a site!
- Compass (A, S)
- Navigation and orienteering. GPS are notoriously bad at telling you which way is north.
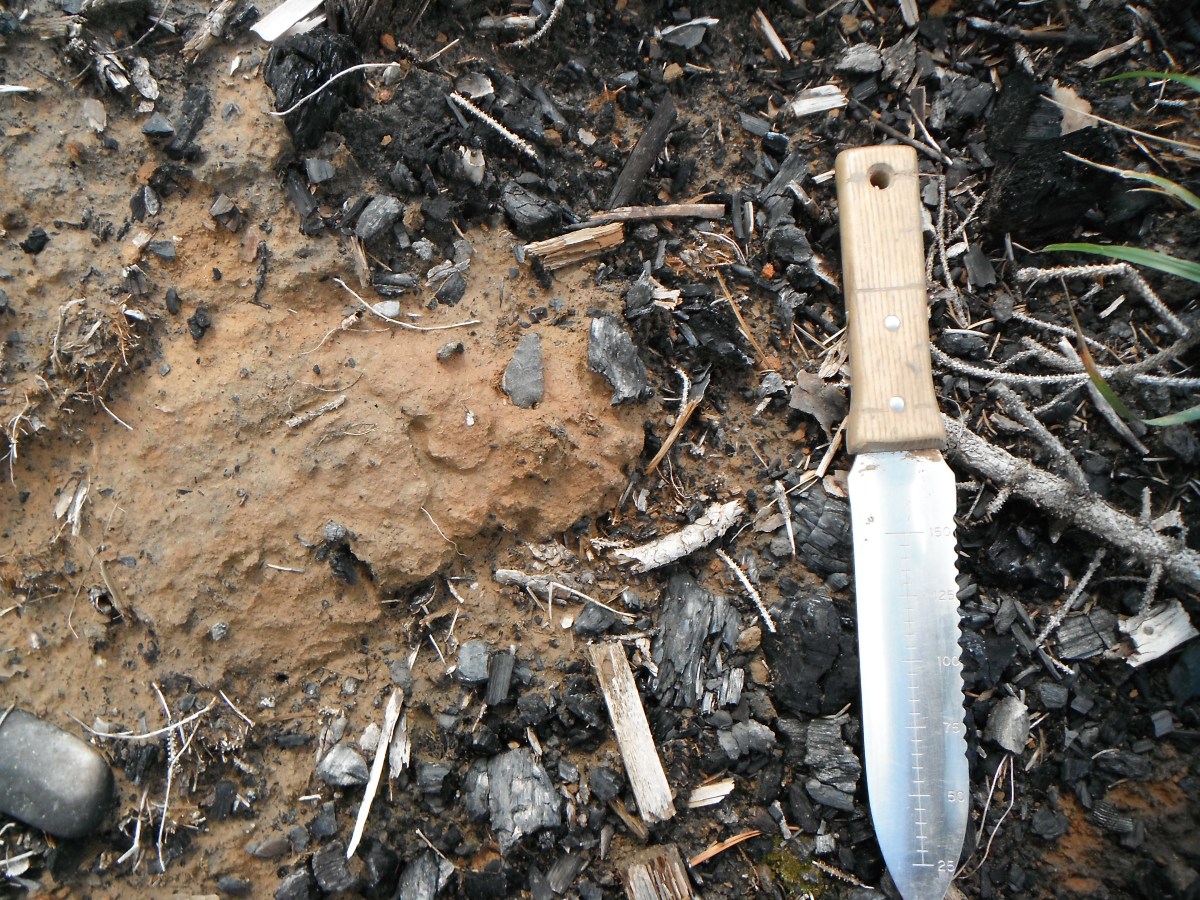
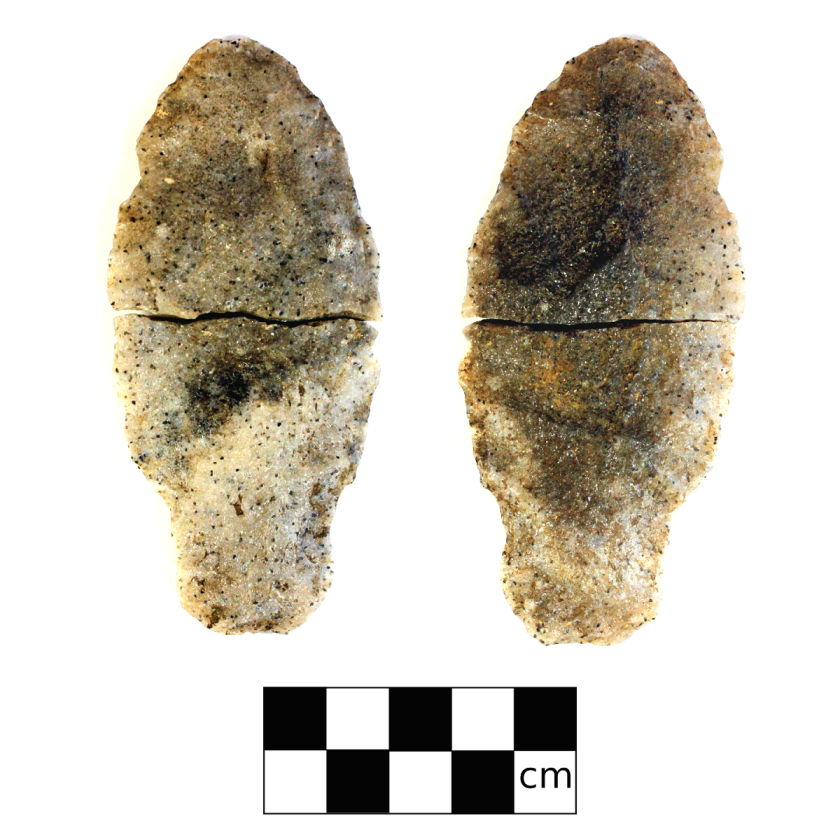
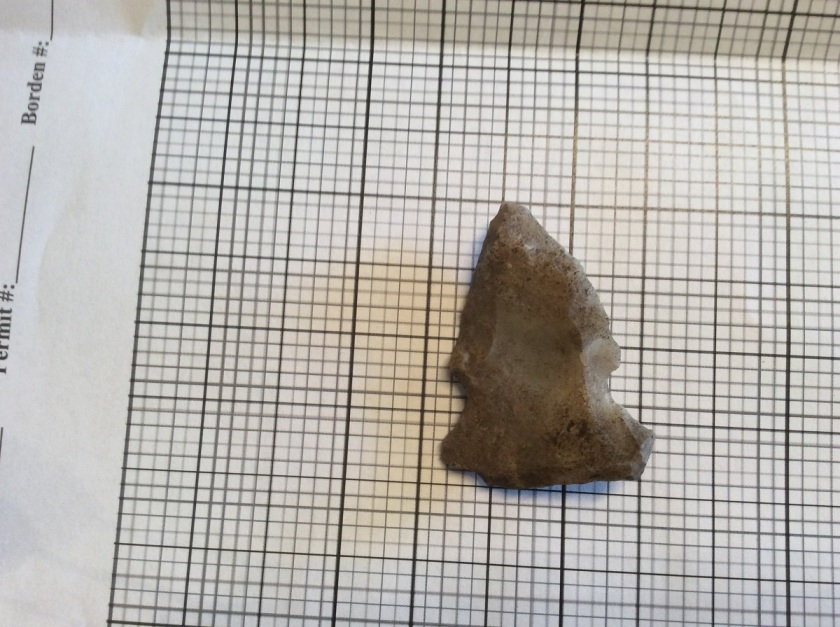
- Tape measure (A)
- Measuring shovel test depth. Scale for photography.
- Pen and Sharpie (A)
- Always need writing implements
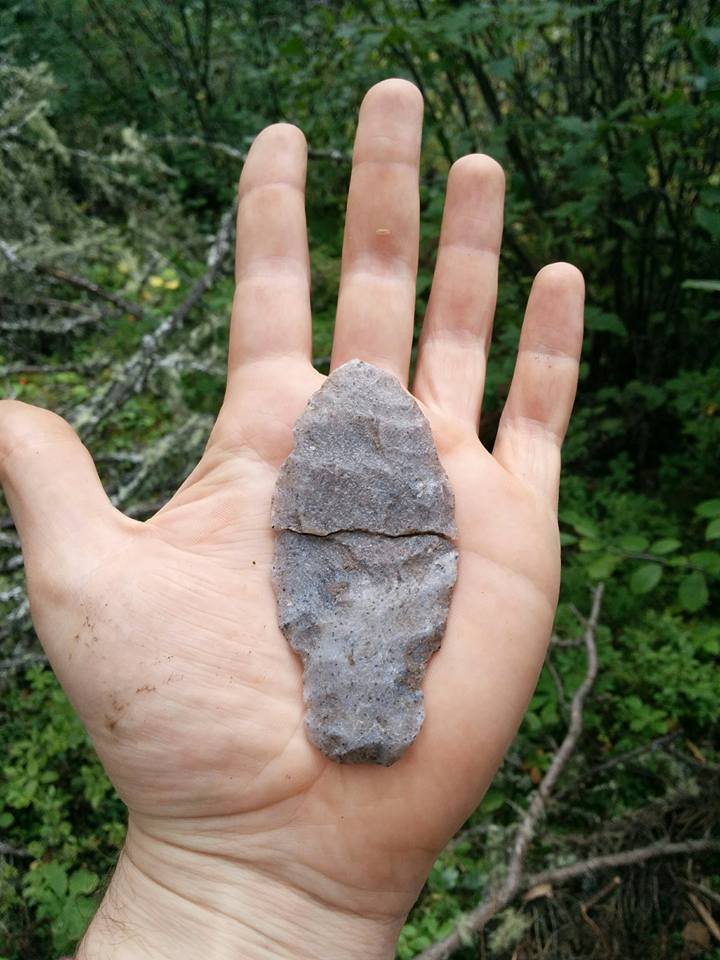
- Artifact Bags and Tags (A)
- For storing artifacts and labeling them with their provenience.
- Gloves (S)
- I keep the gloves I am using in my vest. Screening destroys gloves fast so I keep extras in my bag.
- Multi-tool (S, P)
- I keep my multi-tool in my vest so I have quick access to it if the need arises.
Things In My Bag:
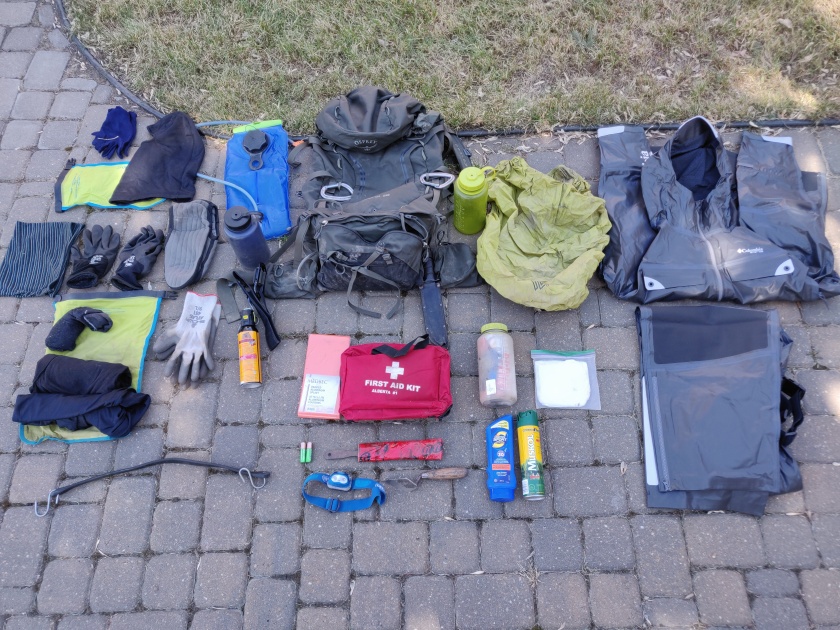
- Water (S, P)
- Bladder for hiking and Nalgene bottles for lunch and reserve. I find that I go through a lot of water, but may leave some at the quad if I know I will not need it. Very import to have extra if it is hot outside!
- Food (S, P)
- Enough food for the day and a little extra just in case you have to spend the night in the forest. I usually have 3 or 4 Cliff Bars squirreled away somewhere.
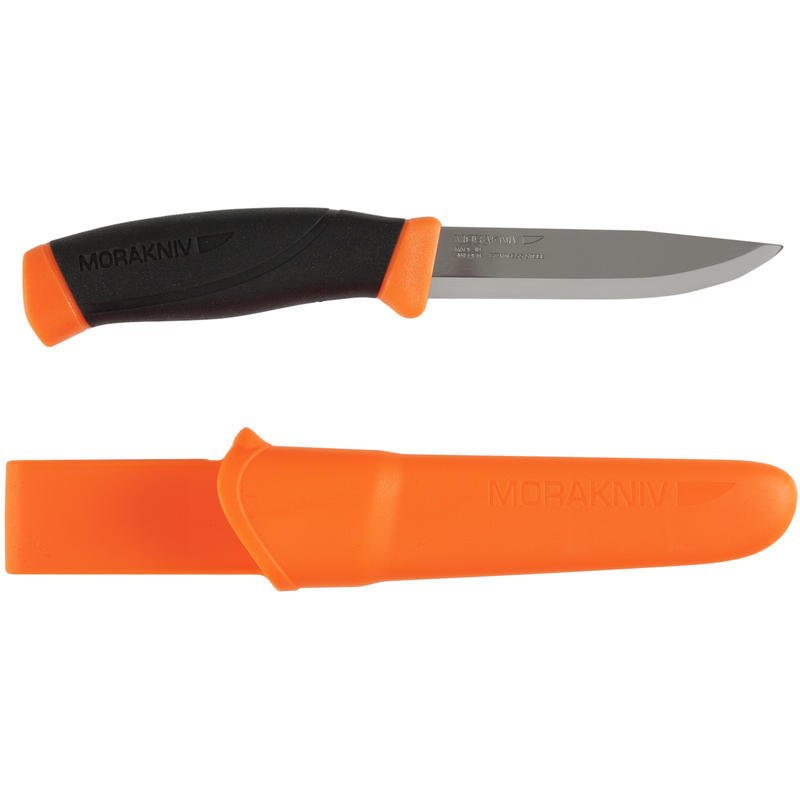
- Knife (A, S, P)
- Never go into the bush without one. Check out this blog if unsure about which type of knife is best to have.
- Bear Spray (S)
- Should never go into areas with bears undefended. It is always a good idea to have a Bear Awareness training before wandering into their backyard. I attach the holster to my bag when on the ATV, but put it on my belt when hiking.
- Rain Gear (S, P)
- I never leave my rain gear behind even if the forecast looks good. Our weather is too unpredictable and I rather have it and not need it, than need it and not have it.
- Head lamp
- Small, lightweight form of illumination. It can get dark quick in the fall, and it sucks stumbling around the forest in the dark.
- First Aid Kit (S)
- Everyone at Tree Time Services Inc. carries a Type P (Personal) first aid kit and supervisors carry a Type 1.
- Neck Brace (S)
- I never ever want to have to use this! I will carry it regardless as it could be the difference between life and death.
- Survival Kit (S, P)
- I carry a small survival kit with some basic supplies just in case. I don’t plan on having to survive for more than a night without help. It all fits in a Nalgene, which keeps it waterproof. Bonus extra water container! It includes:
- Extra knife
- Mirror
- Whistle
- Small bundle of paracord
- Fire starter
- Bic lighter
- Water purification tablets
- Small plastic sheet
- Cliff bar
- I carry a small survival kit with some basic supplies just in case. I don’t plan on having to survive for more than a night without help. It all fits in a Nalgene, which keeps it waterproof. Bonus extra water container! It includes:
- Extra Clothes/Gloves (S, P)
- Never know when you may need extra dry clothes or an emergency thermal layer. Extra warm clothing is useless wet, so I keep it dry bags. I bring:
- Lightweight thermal baselayer
- Extra warm gloves
- Socks
- Extra Bama socks
- Buff or neckwarmer
- Lightweight belaclava
- Particularly important for cold quad rides
- Never know when you may need extra dry clothes or an emergency thermal layer. Extra warm clothing is useless wet, so I keep it dry bags. I bring:
- Bug Spray/Sunscreen (S, P)
- For when the bugs get bad and the sun is out!
- Toilet paper (P)
- No explanation needed. Unless you really want the full nature experience of using leaves and moss.
- Axe file (A, P)
- For sharpening shovels and trowels. I hate a dull shovel. Most people sharpen at the truck and leave the file behind.
- Trowel (A)
- I usually only bring this on excavation jobs.
- Bungie-cord (A, P)
- I use this to attach my screen to my backpack.
Other Items:
- Cellphone (S, P)
- (Not pictured) I always keep my phone sealed in a ziplock bag and secured in my vest so that it cannot get damaged or lost.
- Portable battery charger and Extra Batteries (A, S, P)
- Can’t do much if our electronics don’t work
- Flagging (A, S)
- Always need multiple different colors of flagging for marking hazards, shovel tests and flagging site buffers.
- Bug net (S, P)
- Most people will carry a bug net either in their vest or bag depending on how much they use it. Bugs in the boreal can get pretty terrible at times.
- Collapsible hand saw (A, S, P)
- For clearing trails or roots out of test pits
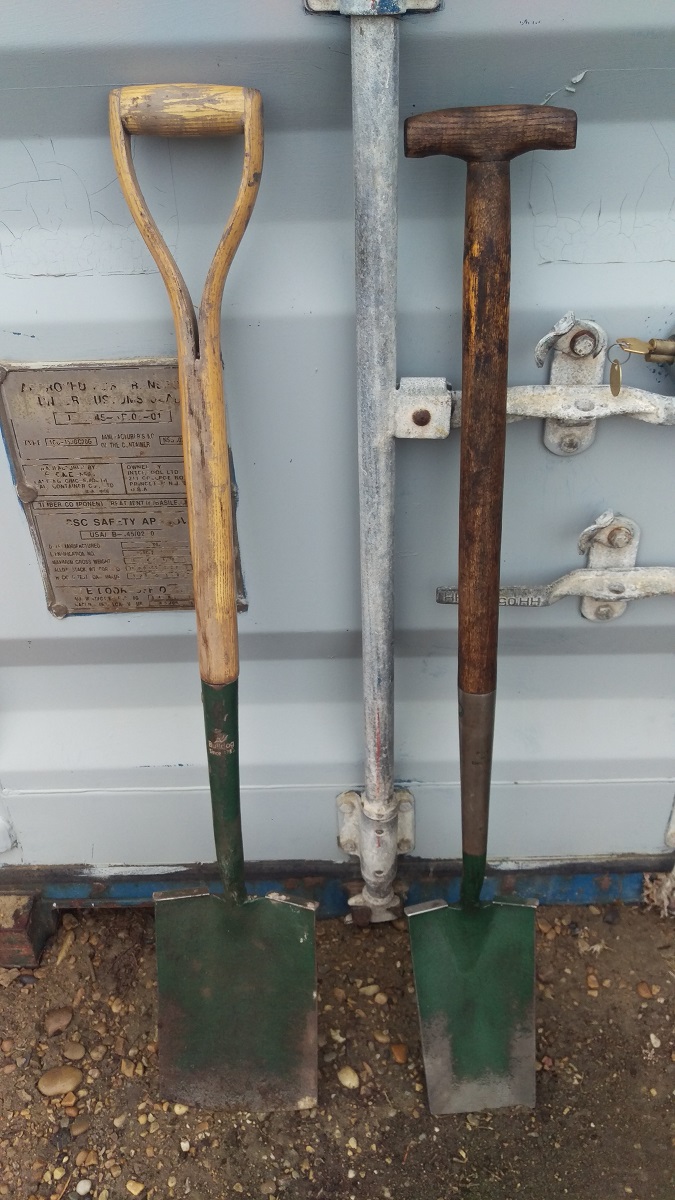
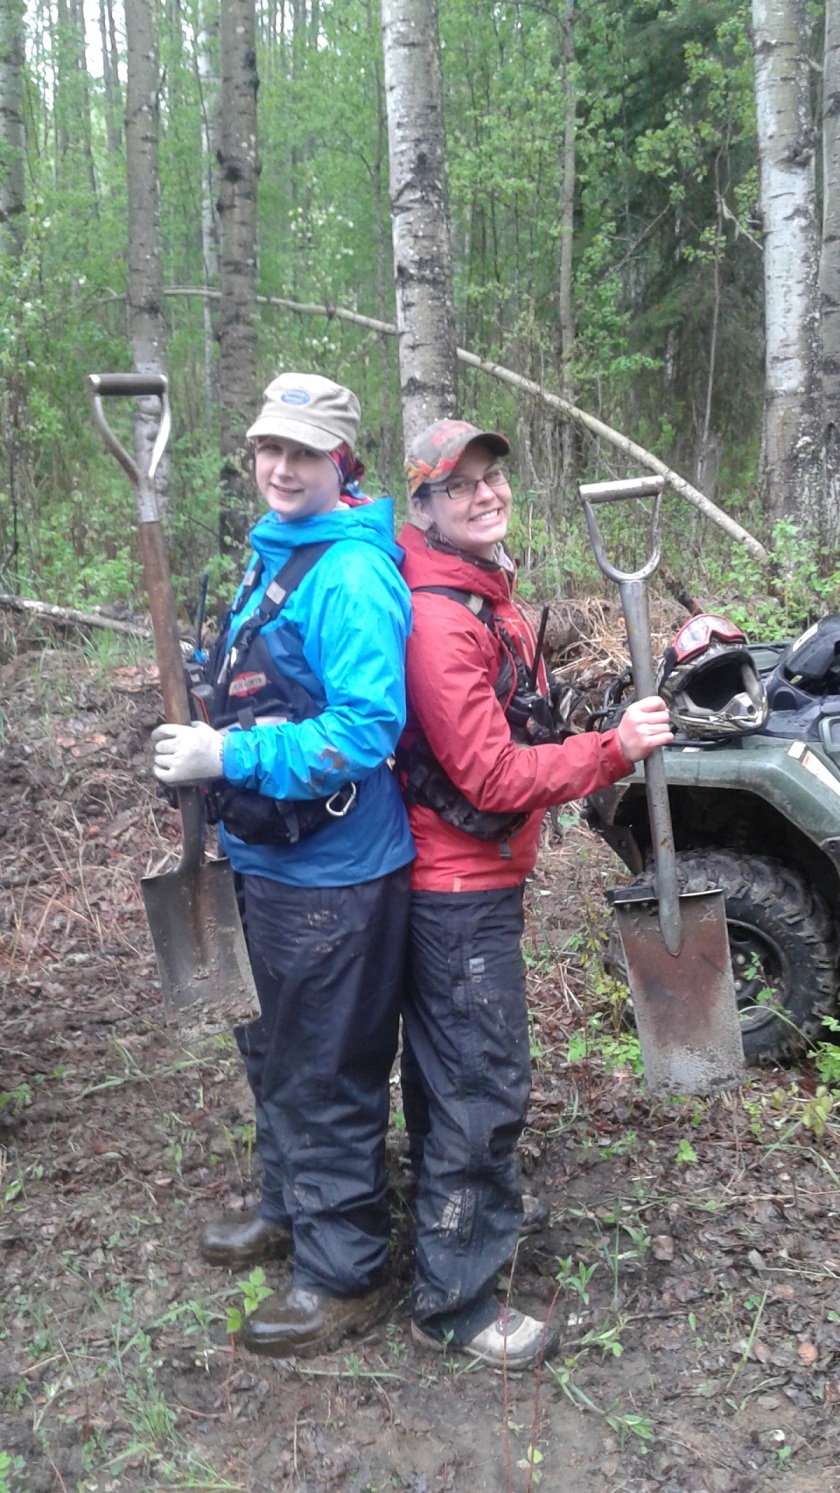
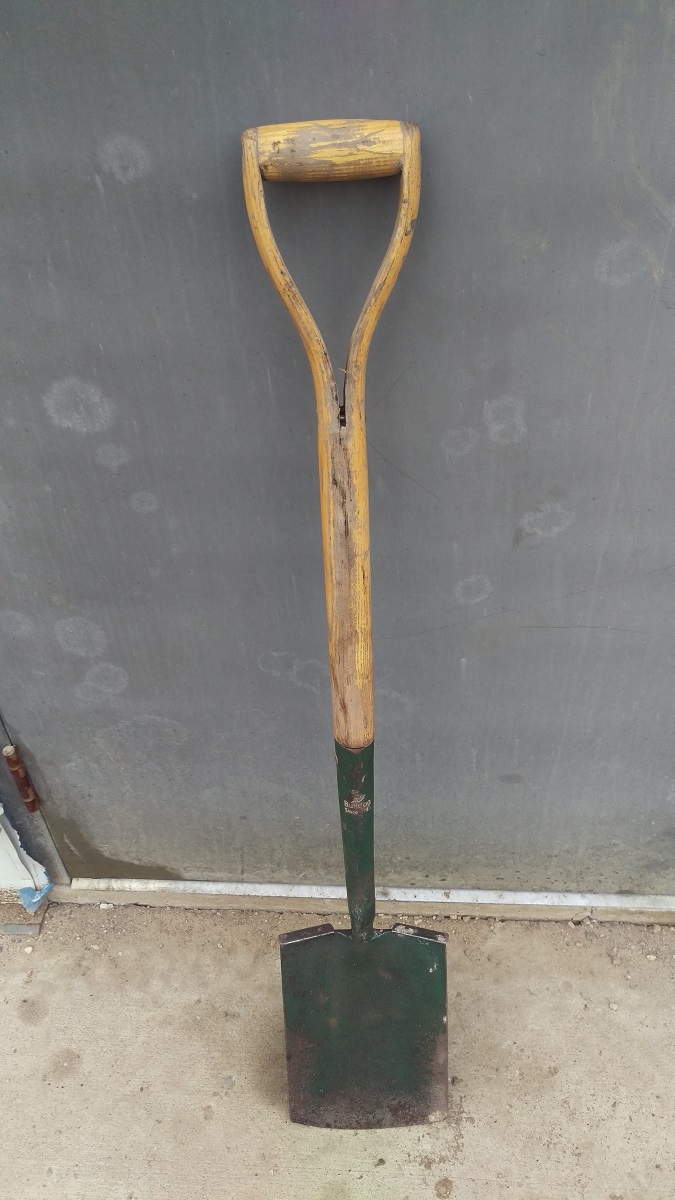
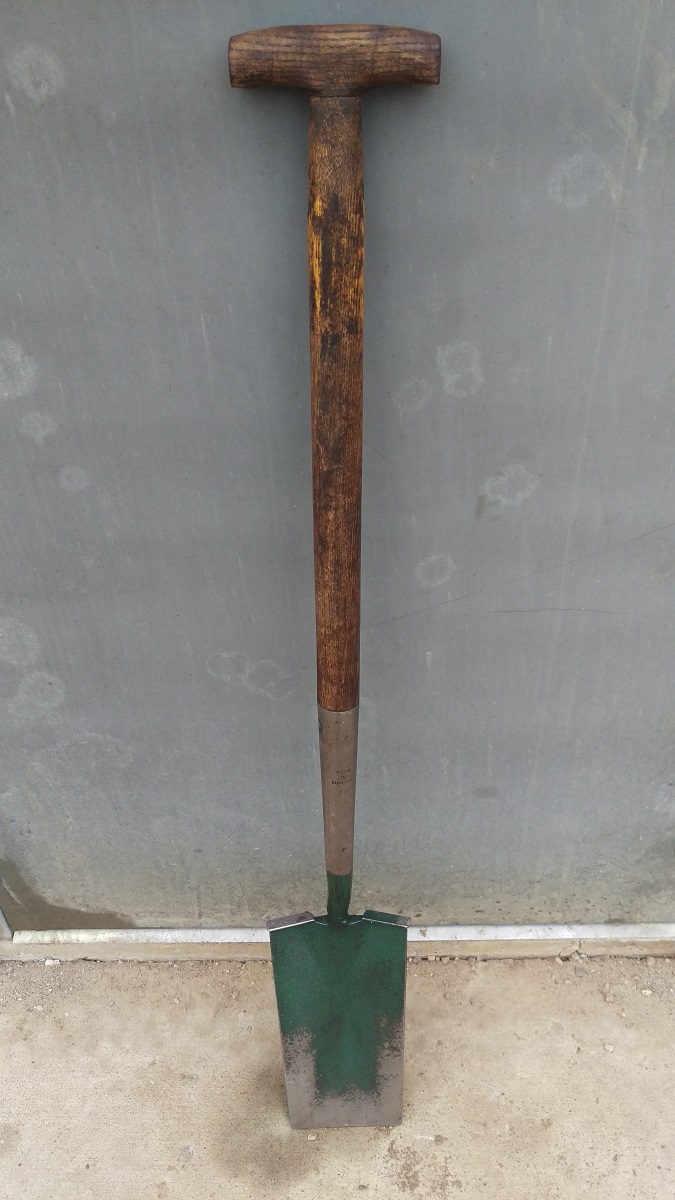
Along with all of this we also need to carry a screen and shovel! Most people attach the screen to their backpack and everyone has their preference of shovel. Check out these shovel reviews (Grizzly vs. King of Spades, Bulldog spades) to determine what type you may like best! Enjoy your summer and happy hiking!